Adding a navigation menu to the website
At this point, we have two HTML pages and a Python script that renders those HTML pages to two different URLs – the Home and the About URL.
Now we need to add a menu so that the user can easily navigate through the webpages by just clicking their links.
The two webpages above share a common area, which consists of the header (i.e., Ardit’s web app) and the navigation menu.
To create that area in each page, we could add the HTML code that generates such a header to each of our HTML files. However, a smarter thing to do would be to create a parent HTML template which our two child templates could inherit the code from. Then we could simply link to that parent layout from each HTML page to inherit its code.
Let’s see how this is done:
We would need to create a new HTML page and call it something like layout.html:
<!DOCTYPE html>
<html>
  <body>
    <header>
      <div class="container">
        <h1 class="logo">Ardit's web app</h1>
        <strong><nav>
          <ul class="menu">
            <li><a href="{{ url_for('home') }}">Home</a></li>
            <li><a href="{{ url_for('about') }}">About</a></li>
          </ul>
        </nav></strong>
      </div>
    </header>
  </body>
</html>
Let’s quickly see how this looks like by double-clicking over the layout.html file.
If you’re now thinking, you have to render the layout.html page in our Python function, you are wrong.
We keep the Python code as it is and modify the home.html, about.html and the layout.html files. The idea is to link about.html and home.html to layout.html. This would be done by adding a few lines of code in those files, as you see below. Let’s start with layout.html:
<!DOCTYPE html>
<html>
  <body>
    <header>
      <div class="container">
        <h1 class="logo">Ardit's web app</h1>
        <strong><nav>
          <ul class="menu">
            <li><a href="{{ url_for('home') }}">Home</a></li>
            <li><a href="{{ url_for('about') }}">About</a></li>
          </ul>
        </nav></strong>
      </div>
    </header>
    <div class="container">
      {% block content %}
      {% endblock %}
    </div>
  </body>
</html>
As you can see, we added a new div section to the layout.html file. The two lines with curly brackets will be replaced on demand by either the home.html, or the about.html code depending on which URL the user is browsing. For that to happen, you also need to edit those two pages so that they connect to the layout.html page. Here is how the updated code looks like for home.html:
{% extends "layout.html" %}
{% block content %}
<div class="home">
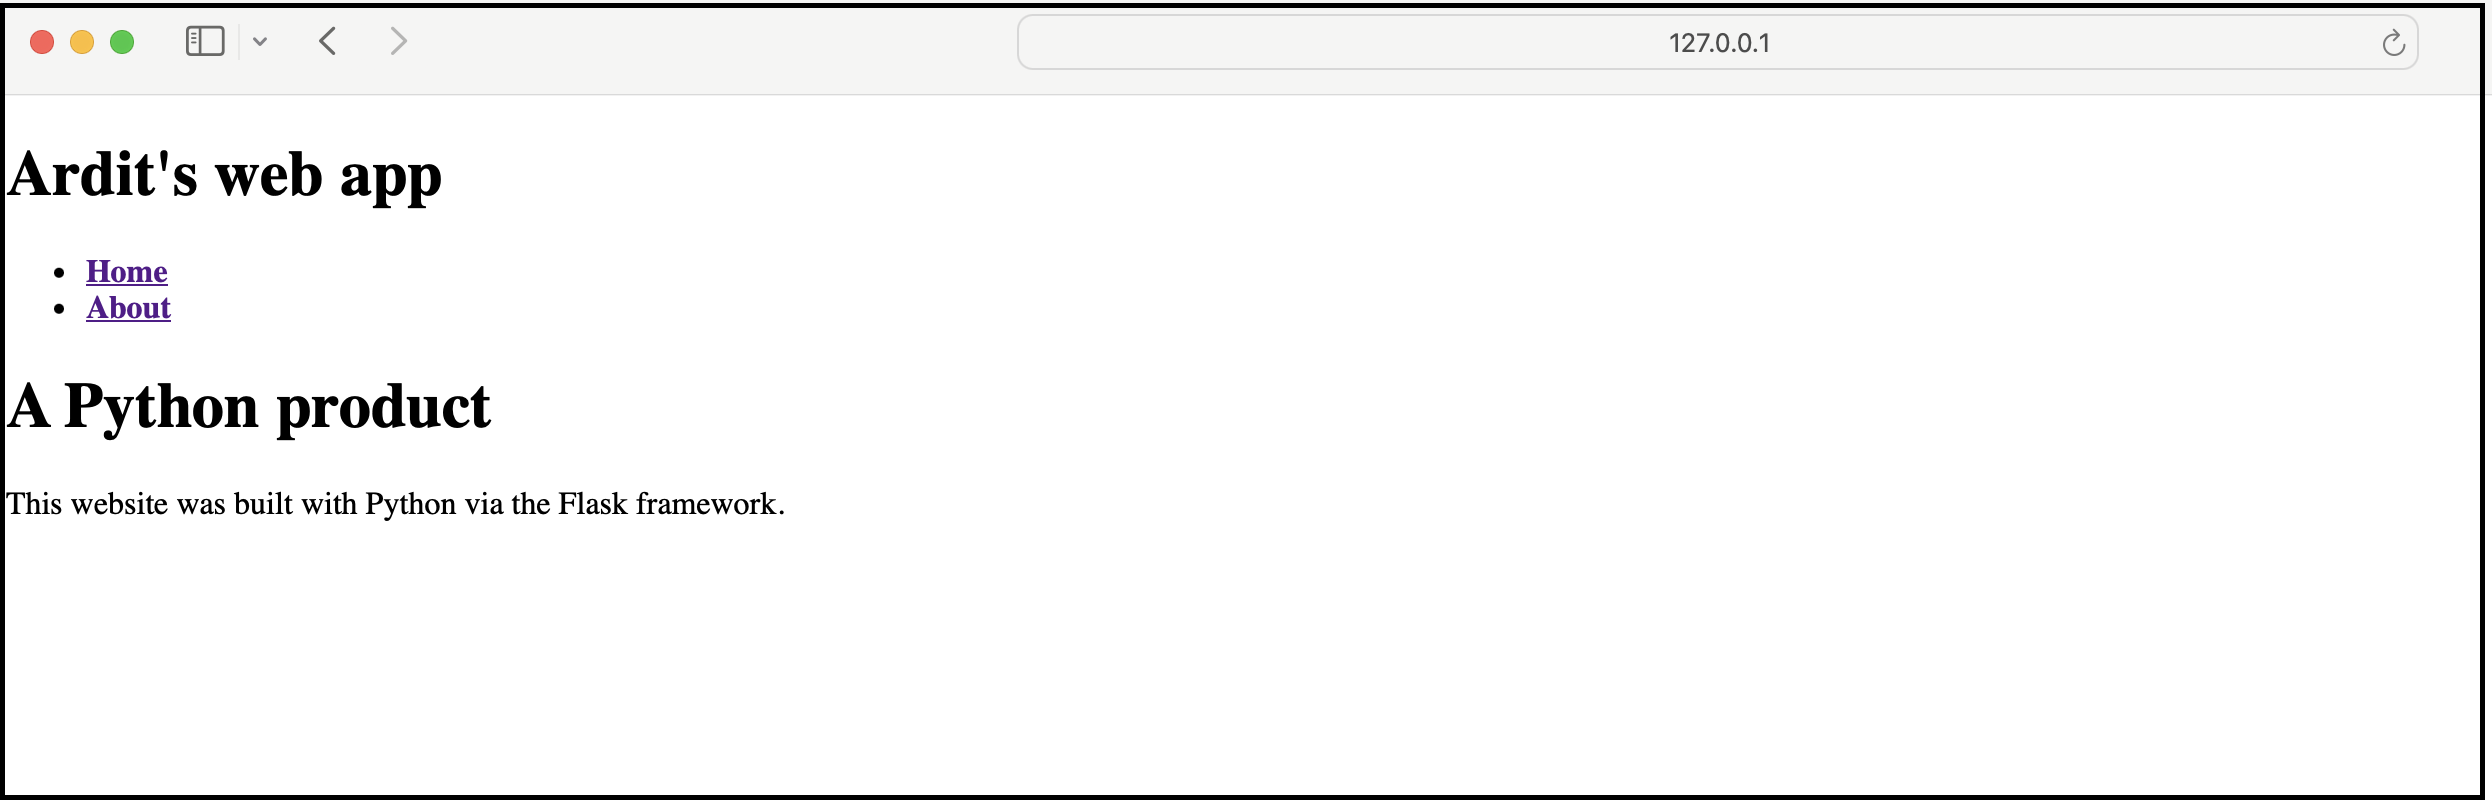
<h1>A Python product</h1>
<p>This website was built with Python via the Flask framework.</p>
</div>
{% endblock %}The same goes for about.html:
{% extends "layout.html" %}
{% block content %}
<div class="about">
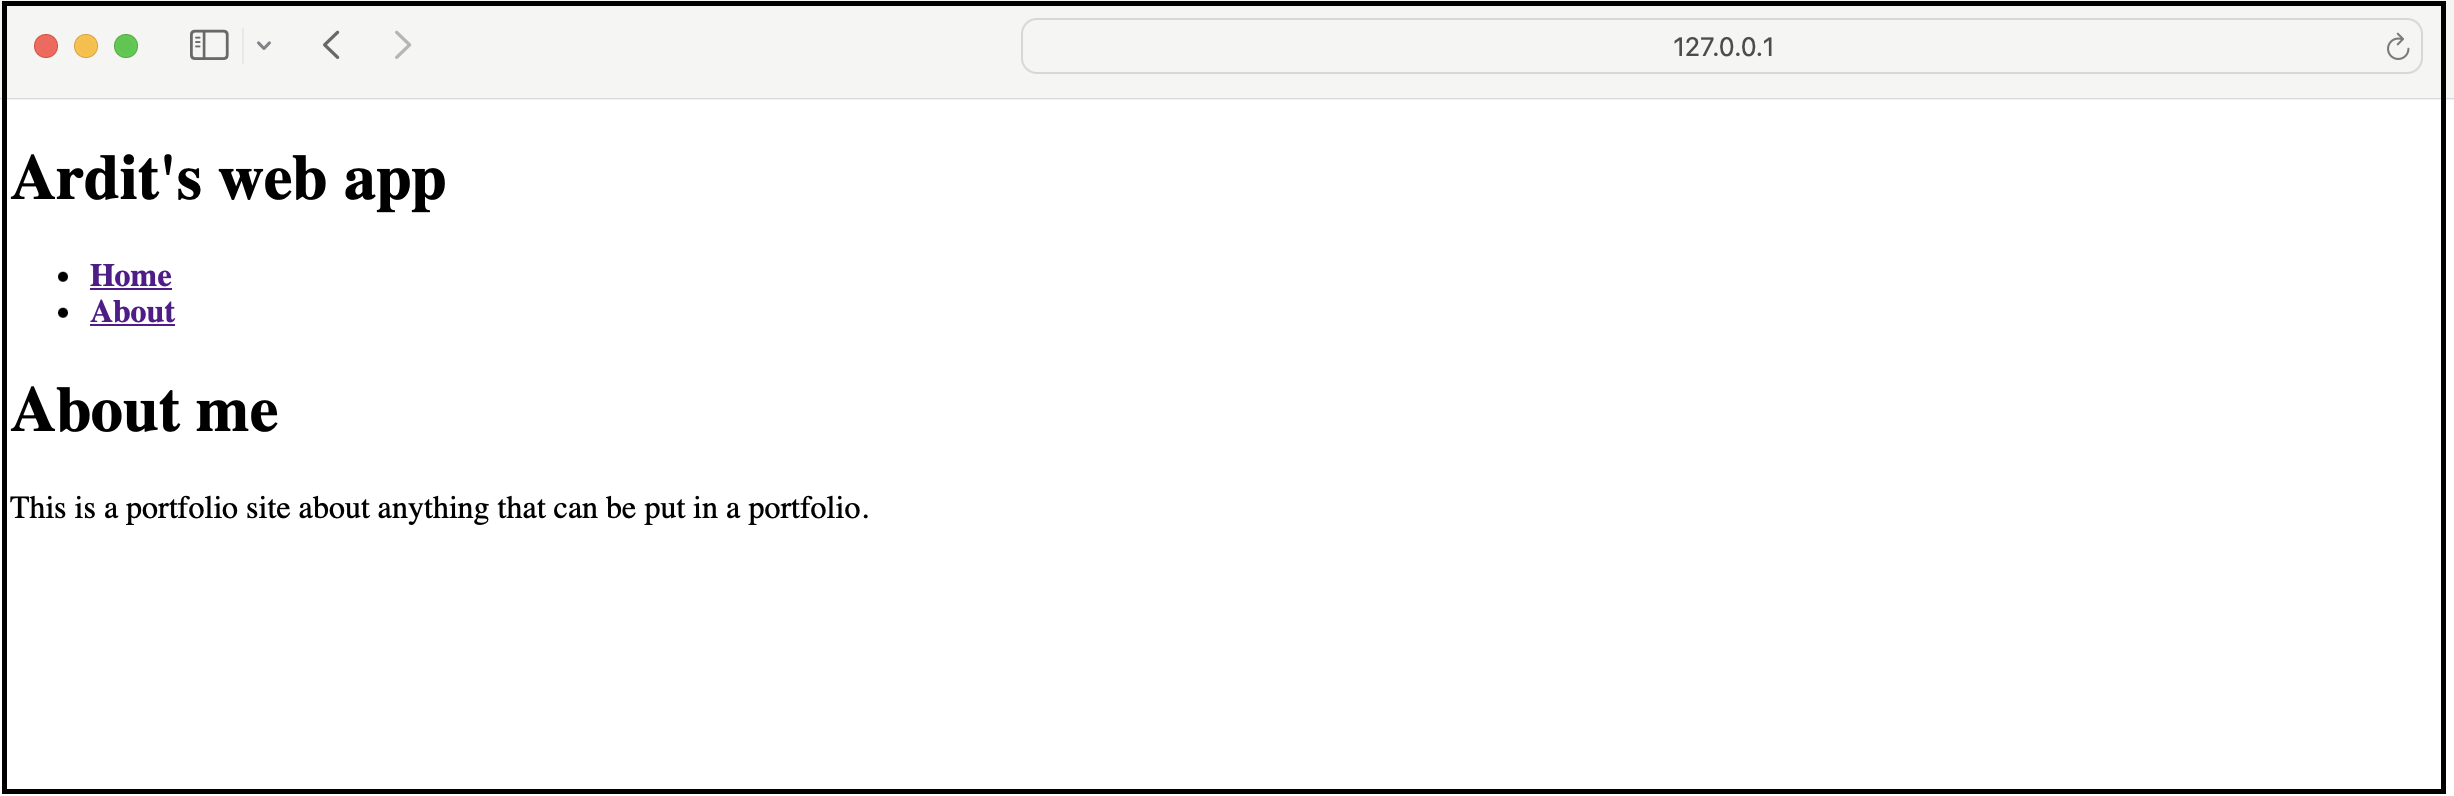
<h1>About me</h1>
<p>This is a portfolio site about anything that can be put in a portfolio.</p>
</div>
{% endblock %}Your website should now look as in the following screenshot, and you should be able to load the webpages by clicking on the corresponding menu items.
Here is how the Home page looks like:
Here is how the About page looks like:
Great! We have a functional website! But… We’re missing the flesh. So, let’s add some CSS styling in the next lesson.
Practice what you just learned
Solve Python exercises and get instant AI feedback on your solutions.
Try ActiveSkill for Free →