Adding CSS styling to your website
So far, our website consists of a Python script, and three HTML documents. The Python script handles the communication between the web server and the web client (i.e., browser) while the HTML documents are responsible for the structure of the page content.
Now we need to add some style formatting to the HTML structure using CSS (Cascading Style Sheets). That is done by creating a CSS file and connecting it to our HTML files. CSS is a style language that likewise HTML, it is also easy to learn. Python is much harder to learn than CSS. So, a rule of thumb is if you know Python, learning CSS should be a breeze.
Remember that HTML template files HTML goes inside the templates' folder. CSS stylesheets are considered static files. There is no interaction with their code, like there is with HTML templates. Therefore, flask has reserved a separate folder where you should put static files such as CSS, Javascript, images or other files. That folder should be created by you and should be named static. It’s also good practice to create another folder inside static and name it css.
Now, create an empty file inside the css and name the file something like main.css.
Then, put this code inside the CSS file:
body {
  margin: 0;
  padding: 0;
  font-family: "Helvetica Neue", Helvetica, Arial, sans-serif;
  color: #444;
}
/*
 * Formatting the header area
 */
header {
  background-color: #DFB887;
  height: 35px;
  width: 100%;
  opacity: .9;
  margin-bottom: 10px;
}
header h1.logo {
  margin: 0;
  font-size: 1.7em;
  color: #fff;
  text-transform: uppercase;
  float: left;
}
header h1.logo:hover {
  color: #fff;
  text-decoration: none;
}
/*
 * Centering the body content
 */
.container {
  width: 1200px;
  margin: 0 auto;
}
div.home {
  padding: 10px 0 30px 0;
  background-color: #E6E6FA;
  -webkit-border-radius: 6px;
     -moz-border-radius: 6px;
          border-radius: 6px;
}
div.about {
  padding: 10px 0 30px 0;
  background-color: #E6E6FA;
  -webkit-border-radius: 6px;
     -moz-border-radius: 6px;
          border-radius: 6px;
}
h2 {
  font-size: 3em;
  margin-top: 40px;
  text-align: center;
  letter-spacing: -2px;
}
h3 {
  font-size: 1.7em;
  font-weight: 100;
  margin-top: 30px;
  text-align: center;
  letter-spacing: -1px;
  color: #999;
}
.menu {
  float: right;
  margin-top: 8px;
}
.menu li {
  display: inline;
}
.menu li + li {
  margin-left: 35px;
}
.menu li a {
  color: #444;
  text-decoration: none;
}
I assume the CSS file is quite self-explanatory. What the code is basically doing is referring to the HTML tags and div class names and applying fonts, colors, text size, padding, margins and background colors to those HTML elements.
Alright, we have a CSS file, but our HTML documents still don’t know how to link to it. The idea is we should link each page to the CSS, but because our layout.html code is at every page, we can insert the linking code to that. So, open your layout.html page and add a head section so that the code looks like this:
<!DOCTYPE html>
<html>
  <head>
    <title>Flask app</title>
    <link rel="stylesheet" href="{{ url_for('static', filename='css/main.css') }}">
  </head>
  <body>
    <header>
      <div class="container">
        <h1 class="logo">Ardit's web app</h1>
        <strong><nav>
          <ul class="menu">
            <li><a href="{{ url_for('home') }}">Home</a></li>
            <li><a href="{{ url_for('about') }}">About</a></li>
          </ul>
        </nav></strong>
      </div>
    </header>
    <div class="container">
      {% block content %}
      {% endblock %}
    </div>
  </body>
</html>
As you see, we added a title and link tags to inside head tags. Inside the link tag, we declared we are relating to a stylesheet document, and then we specified the path to that style sheet.
Here is how the Home and About pages look like after adding CSS:
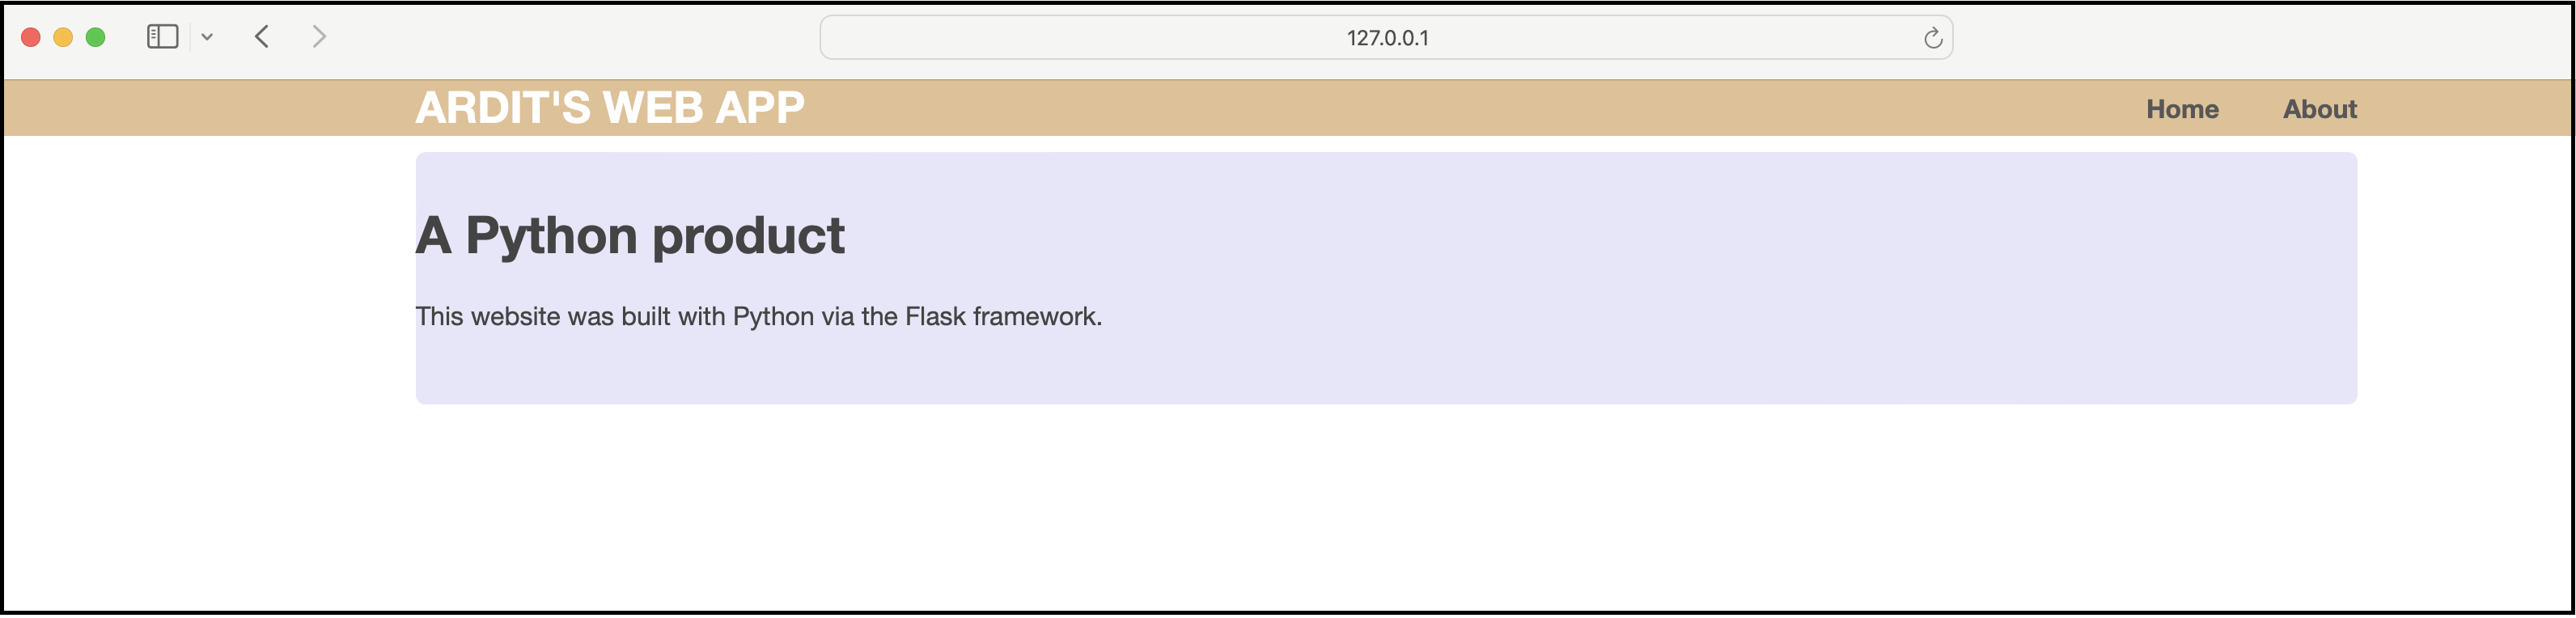
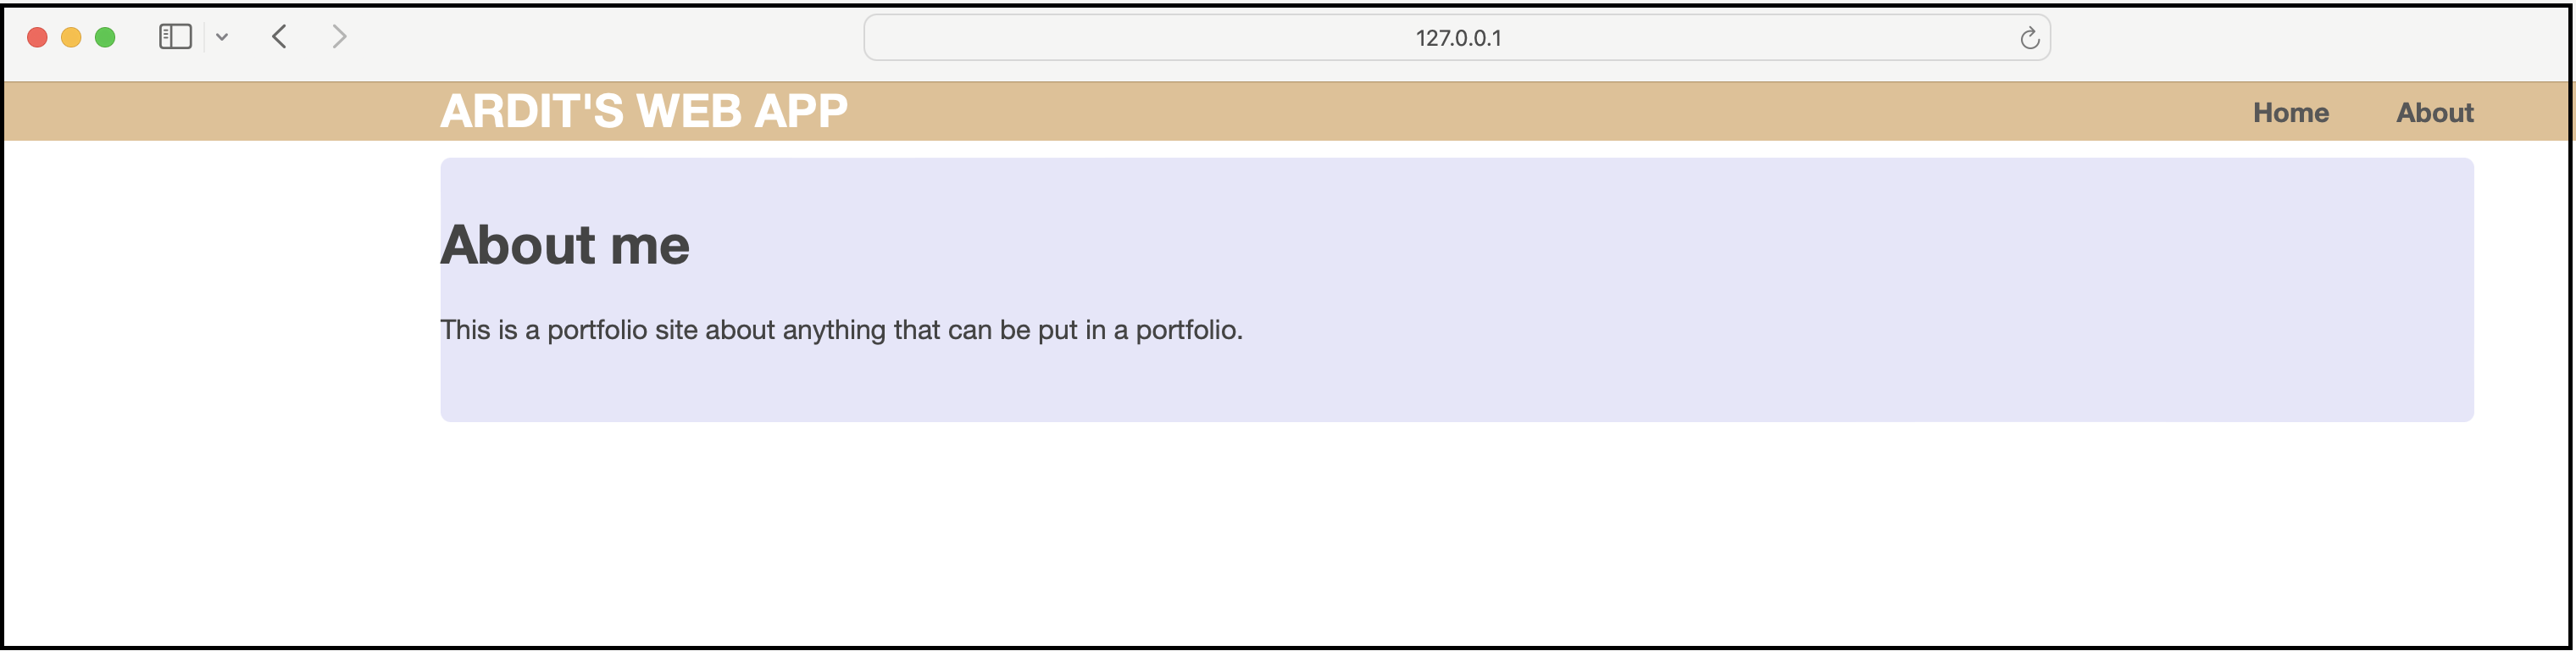
Navigating to localhost:5000 now should display the website you saw in the screenshot above.
You can now add more content to it and tweak the HTML files by adding more divs if you want more sections in your webpages.
But, what does a website serve for if it’s vegetating in your localhost?
It’s completely useless if no one sees it.
No worries, though, we will fix that right away by deploying the website in the Heroku cloud so that anyone can visit it through a public URL.
Let’s move on to the next lesson.
Practice what you just learned
Solve Python exercises and get instant AI feedback on your solutions.
Try ActiveSkill for Free →